Disclaimer: some of the techniques described in this article may not work for you if you test them on autoflowering strains, as those strains don’t have enough time to recover from cutting branches. Training autos is still possible, but with less aggressive techniques.
We all know that every half-decent stoner in Canada is going to grow a little bit of weed this summer as the legalization of recreational cannabis hits the streets. So what exactly can you do to have bigger and better buds than your neighbor? Well, you can do a lot really.
Seeing how growing cannabis at home will be allowed in all provinces except for Manitoba and Quebec, most Canadians will have the opportunity to grow their own plants if they find the weed sold at retail stores being of lower quality or lacking in other ways.
Also, many analysts are foreseeing a serious drought, as a cannabis shortage is expected to hit the market soon after it opens.
So, there are multiple reasons why you should want to grow your own weed. There are also multiple ways to grow your own weed, depending on what you favor most.
You could try and grow weed in soil, or perhaps choose a hydroponic growing setup for your cannabis plants, but whatever you do make sure you follow this article so that you get the best possible results from your plants.
Since the government will allow growing up to 4 plants per household, you’ll want to get the most of each plant you grow.

Essential factors that improve yield
Seeing how a lot of things can have a negative effect on your grow if not done right but a positive effect if done properly, it is important to know what they are and how (not) to do them.
Firstly, genetics of a plant are what defines it’s growing difficulty. If this is one of your first times growing cannabis, we strongly suggest you do your own research and not listen to what people might say.
Choosing a strain that you prefer is always a good option because it fits your needs, however when it comes to growing weed it might not be the best call.
Beginners are usually advised to pick strains that are notoriously easy to grow, as they have higher chances of producing good weed with minimal effort.
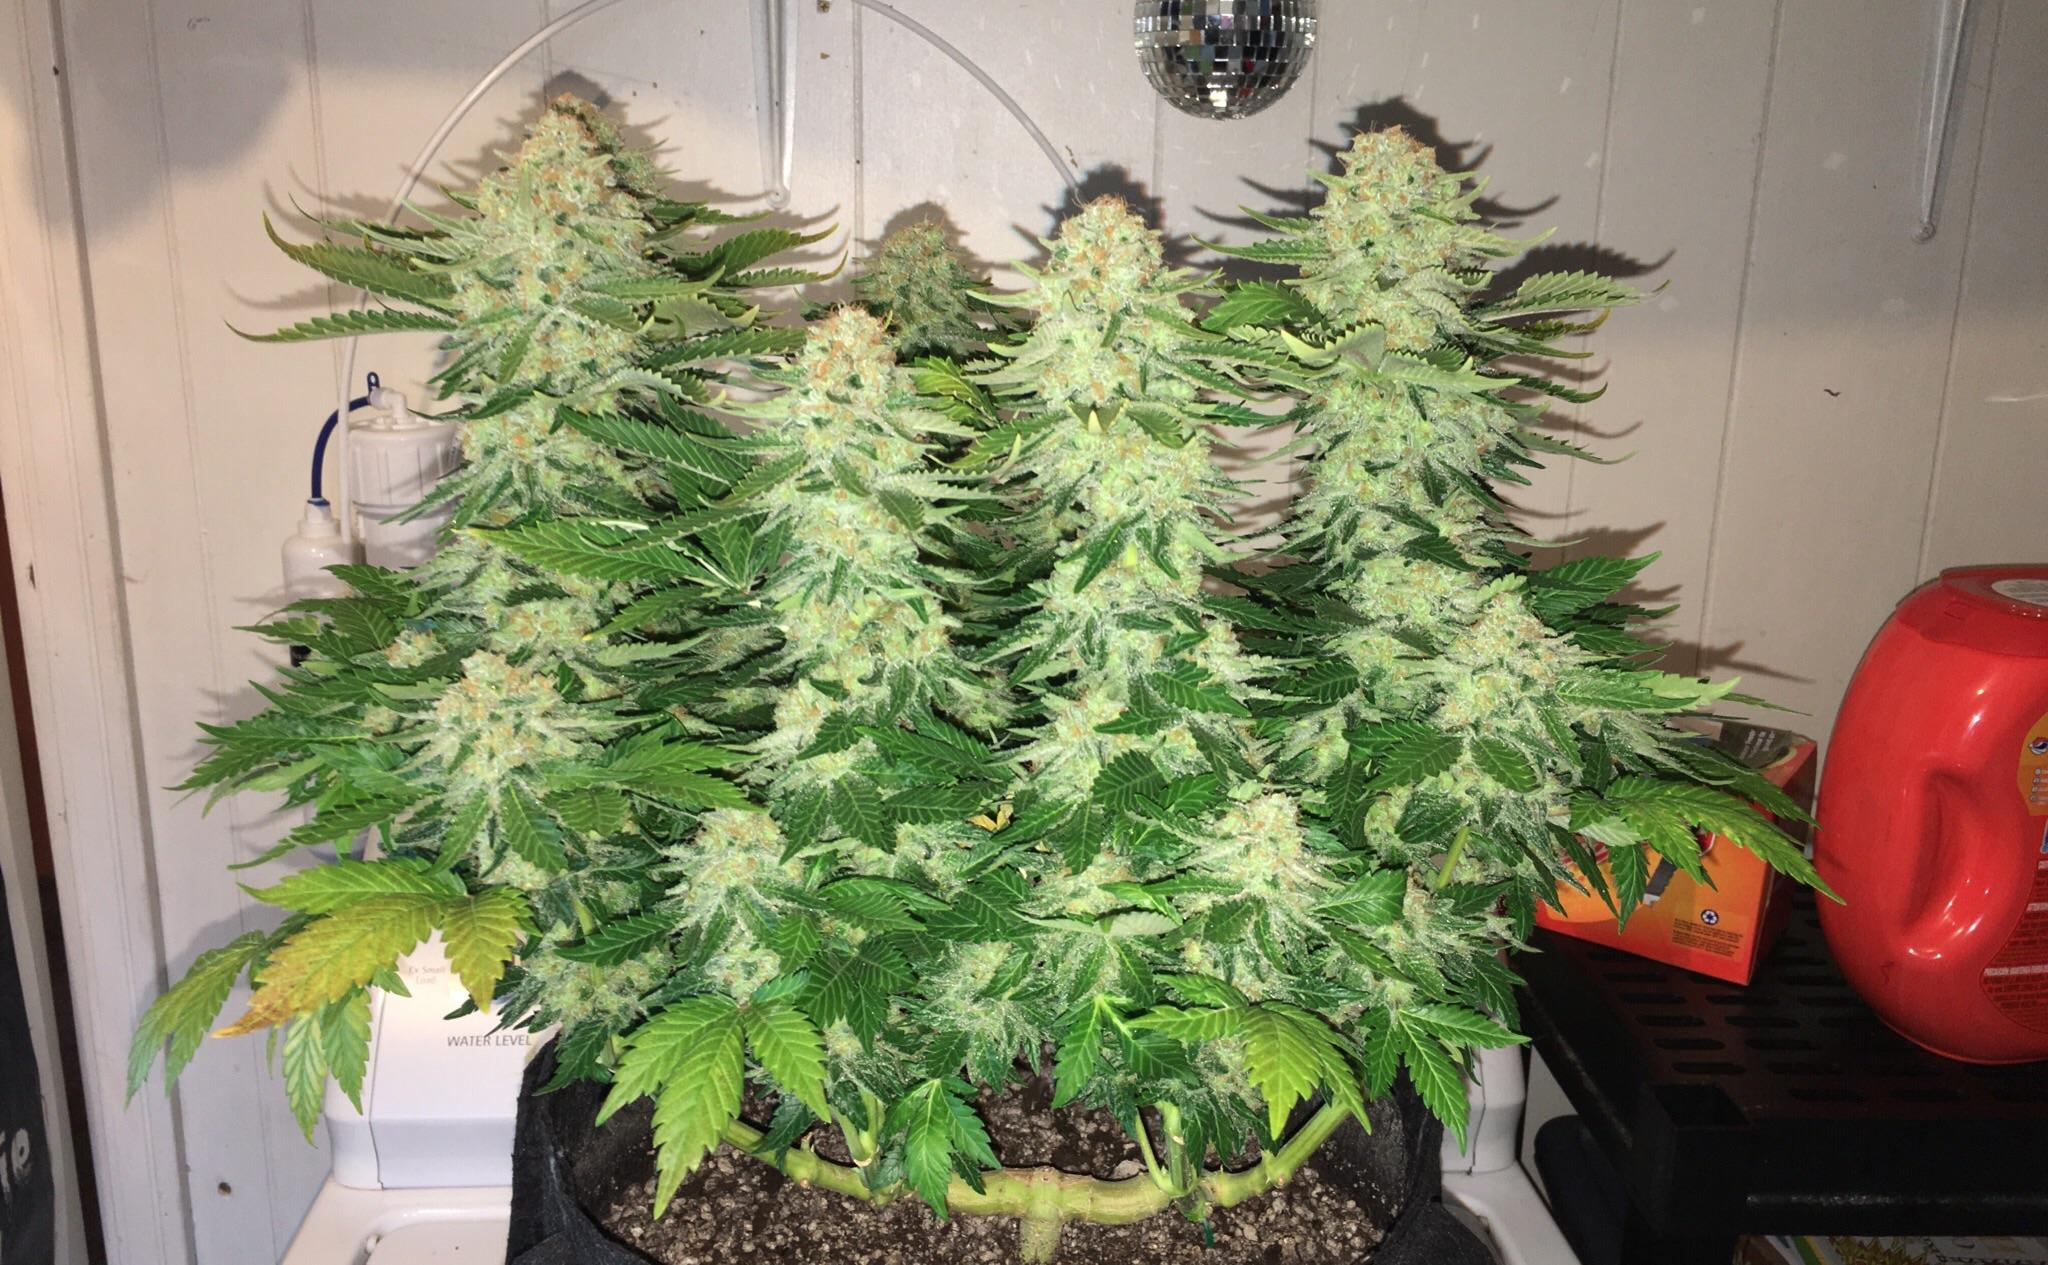
1. Selecting high-yielding strains
High-yielding strains have been in demand since the War on Drugs started in the ‘70s. The reason for that was law enforcement seizing larger amounts of cannabis flowers and plants, which meant less weed was getting to the market.
In order to increase their profits, weed growers started mixing strains and growing plants with bigger and thicker buds. This eventually led to growing specific strains which were several years later well known for their high yield.
So, what are some classic examples of these strains?
Indica — Big Bud and Super Skunk
Sativa — Purple Haze and Maui Wowie
Hybrid — White Widow and Trainwreck
All six strains listed above are notoriously easy to grow and have large yields if grown properly.
Alternatively, if you really want to push yourself you could try growing OG Kush (which is a hybrid strain) and impress the whole neighborhood with the sticky-icky that you’ve got.
Find the right strain for you
Whether you want to relieve anxiety, pain or depression, the right strain is out there. Use our online tool to narrow the search.
Get Started2. Lights and access to light
Everyone knows having good lights increases your chances of growing big buds.
So, if you want to have a high yield you should be ready to invest some money into lighting equipment.
Here we see an approximation of how different lighting will affect your yield:
| Lighting | Low yield | Avg Yield | High Yield | Grow room size |
| 200-watt CFL | 40g | 60g | 100g | 1 x 0.5 x 2 m |
| 250-watt HPS | 80g | 150g | 250g | 1 x 0.5 x 2 m |
| 400-watt HPS | 100g | 250g | 500g | 1 x 1 x 2.5 m |
| 600-watt HPS | 150g | 300g | 600g | 1.2 x 1.2 x 2.5 m |
| 1000-watt HPS | 250g | 500g | 1000g | 1.5 x 1.5 x 2.5 m |
However, getting the proper lights is not the only thing you have to worry about.
Exposing your plants to light in the right places is perhaps even more important than just having strong lights, because if the light doesn’t reach the flowers they simply won’t grow too much.
3. Adding CO2
Adding some carbon-dioxide to the mix is a good idea if you know what you’re doing.
However, this can also mess up the chemistry of the plant and make it so that it has a counter-effect.
So, in order to play this one safe you’ll have to do the following:
- Open a can of sparkling water and slowly pour it into a sprayer.
- Make sure while you are pouring the water that the bubbles don’t appear, otherwise you are losing CO2.
- Spray the water onto the leaves but not the buds. You can also spray the ground a bit as well.
Keep in mind that if you are using strong CFL lights you will have a sufficient amount of CO2 in the vicinity of your plants. CO2 Supplementation is best suited for HPS and LED-based grows.
4. Soil and nutrients
Having an optimal soil mix for your grow is what will make the buds grow huge.
If you’re not certain which soil to use, the safest thing you should do (aside from asking) is to go with a premade Super Soil mix.
You can find these in stores, just about any gardening store has them.
By using a Super Soil mix you won’t need any additional nutrients.
However, if you opt-in for a homemade mix of soil and nutrients, make sure you know what you are doing as bad soil over-saturated with nutes can cause havoc.
Bugs and insects will appear in no time and then it’s off to the exterminators…
Bonus tip for soil growers: Provide a source of sugar, such as black-strap molasses, towards the end of flowering stage to increase bud weight.
5. Temperature and humidity
This is a secret many may not know, but maintaining the perfect temperature and humidity can lead to significant yield growth.
My eyes were opened to this once a very experienced grower turned my attention towards VPD, which is short for vapor-pressure deficit.
VPD represents the amount of moisture in the air and how much moisture the air can hold when it is saturated.
There’s even a chart to make your life even easier.

Staying in the orange zone will definitely get you the results you are striving for.
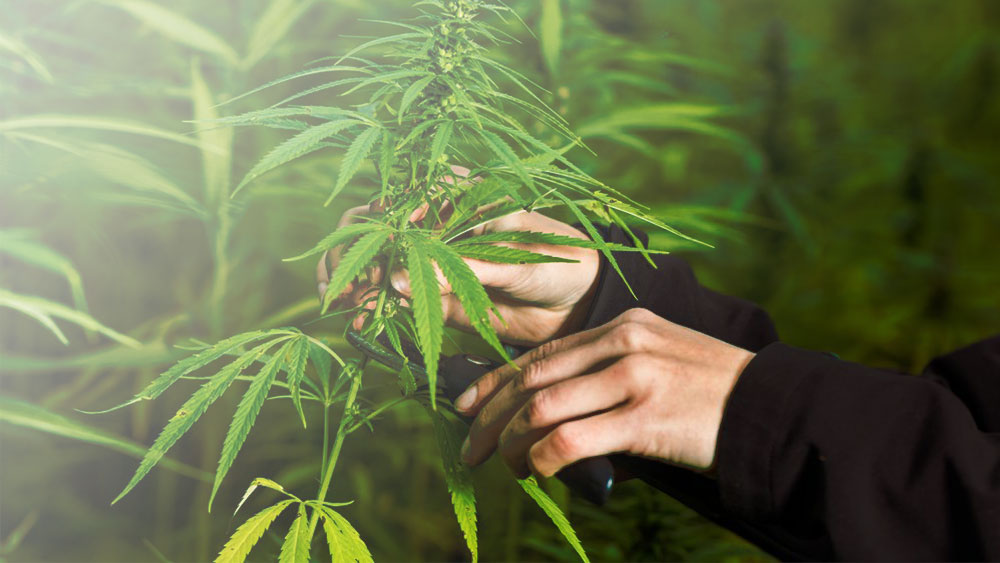
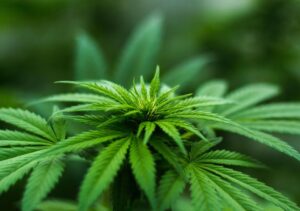
Topping and FIMing
These are both very simple techniques that only require that you have a plant and a pair of scissors in the house.
Topping is when you cut the plant between two nodes, while FIMing is only cutting the new growth of the plant.
So, essentially they are the same technique with the only difference being the location of the cut.
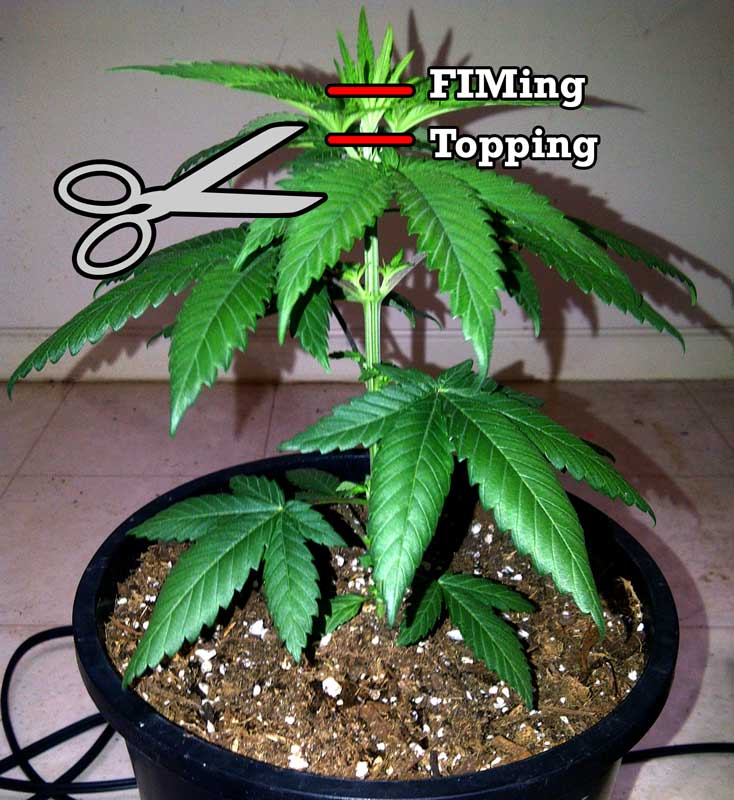
Photo credit: www.growweedeasy.com
They produce pretty much the same results, with the exception being that topped plants take a bit longer to recover, and FIMing doesn’t actually reduce the height of the plant.
When applying one of these techniques it is very important to remember that the growth tips that become new colas should be already present before cutting.
If you plan on topping your plants, wait for at least 5 or 6 nodes to grow before you cut it just above the third. Once your 2 new colas grow enough you can top the at the third node too and create 4 colas.
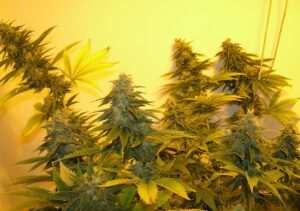
A well topped cannabis plant.
In case you want to try FIMing, then you should start once your plant grows 3 or 4 nodes and cut the new growth on the main stem. Cut the new growth above the 3rd or 4th node, but leave about a quarter of the new growth.
In those spots, new colas will start to form and you’ll have a rather bushy plant soon after.
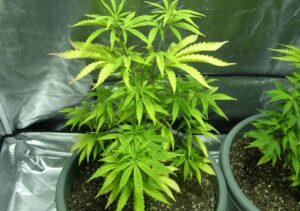
Low Stress Training (LST)
Low Stress Training (LST) is a technique which includes bending certain branches of the plant in order to force the plant to grow multiple colas.
This technique is known to be gentle (thus low stress in its name) and works great for the plants, as it can also be applied to auto-flowering cannabis strains.
The end result of applying LST to your plants will be a very bushy plant with a firm and wide canopy full of thick colas.

Photo credit: www.marijuana-seeds.nl
This technique is pretty advanced as it requires knowledge and good selection of branches, since it won’t work on just any branch.
For LST you’ll need some sort of string, but make sure you don’t use any type of string that can hurt the plant.
If you plan on using LST always have a set of plant ties, twisty ties or coated wires to tie your plants down as these won’t harm your plant, while cotton and fishing string might hurt the soft green branches.
In order to correctly apply LST, here is what you need to do:
- Top the plant down to it’s 3rd node once it grows 5 or 6 nodes
- Bend over tallest stems and tie them down while they are still green
- Secure ties to the sides of your pot/container
You can repeat this process every week once you start seeing faster growth. It will result in the plant growing a wide canopy with several colas of different sizes.
Main-lining or manifolding
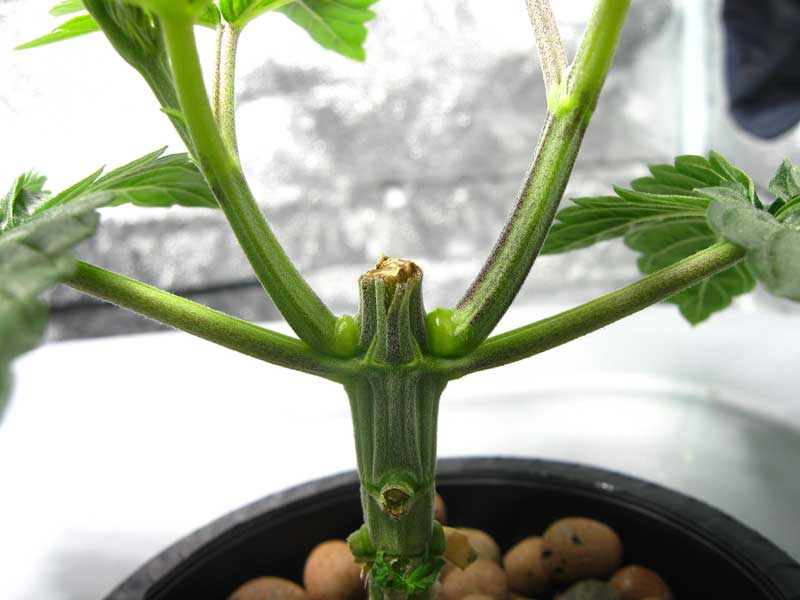
Main-lining, also known as manifolding, is a technique which relies on splitting the cannabis plants down the middle of their main stem during the first few weeks of the vegetative phase.
Performing a manifold correctly will result in your plant having two main colas instead of one.
In order to create a manifold let your plant grow 6 nodes, and then top the plant above the third node. This will split the one big stem into 2, doubling the number of your main colas.
The little growth tips nestled in the V of each fan leaf will become your new colas.
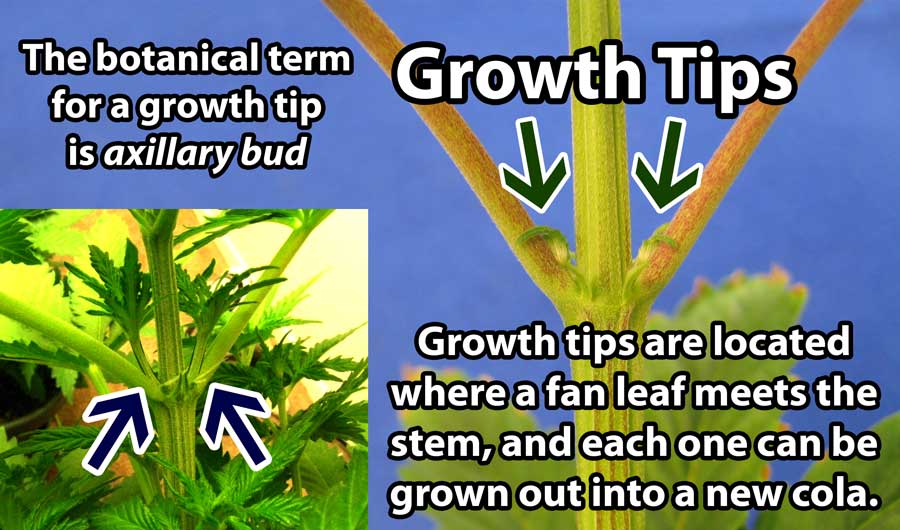
Photo credit: www.growweedeasy.com
After that, let the plant recover for a few days and remove all the leaves below the cut.
A few days later the two stems will grow harder and start branching out again so you will be able to perform another manifold on your 2 major colas now, and you’ll double the number of colas.
Wait for your 2 main stems to grow 4 nodes, then cut at the third node. You should remove the leaves from the 2 main stems at the second node, but leave them on the first and third node.
This will give you 4 to 8 colas depending on where you made the cuts and if you left the growth tips on the stem.
Keep in mind that the more colas you have the longer it will take for the plant to finish its vegetative stage, and move into the flowering stage.
Also keep in mind that manifolding significantly increases the width of the plants, so make sure you build your grow accordingly.
The colas will get heavy once the buds grow big, so you might want to think about installing a few wires to hold them up or something they can lean on.
Otherwise, parts of the colas might less than optimal light exposure in the last 2 weeks.
This technique works best when applied on plants that tend to grow taller and lankier, so choosing a Sativa would be preferable over choosing an already bushy Indica strain.
As I said in the beginning of this article, some techniques don’t work with autos. Manifolding is one of those techniques as it includes topping, which is essentially cutting the plant above a certain node.
Screen of Green
This method is extremely popular with sativa growers, as it is known to help the taller plants to have optimal light exposure.
This is a pretty straightforward technique and the simplicity is what makes it perfect for beginners.
Screen of Green is based on introducing a screen made of net which helps the plants stand tall.
With this technique every branch eventually turns into a monster cola with sufficient lighting.
Start weaving branches into the net during the vegetative phase. Feel free to use some strings to connect smaller and lower branches to the net.
You should do this every few days as new branches may appear a few weeks into the vegetative stage.
Here’s what a Screen of Green system should look like when put together:
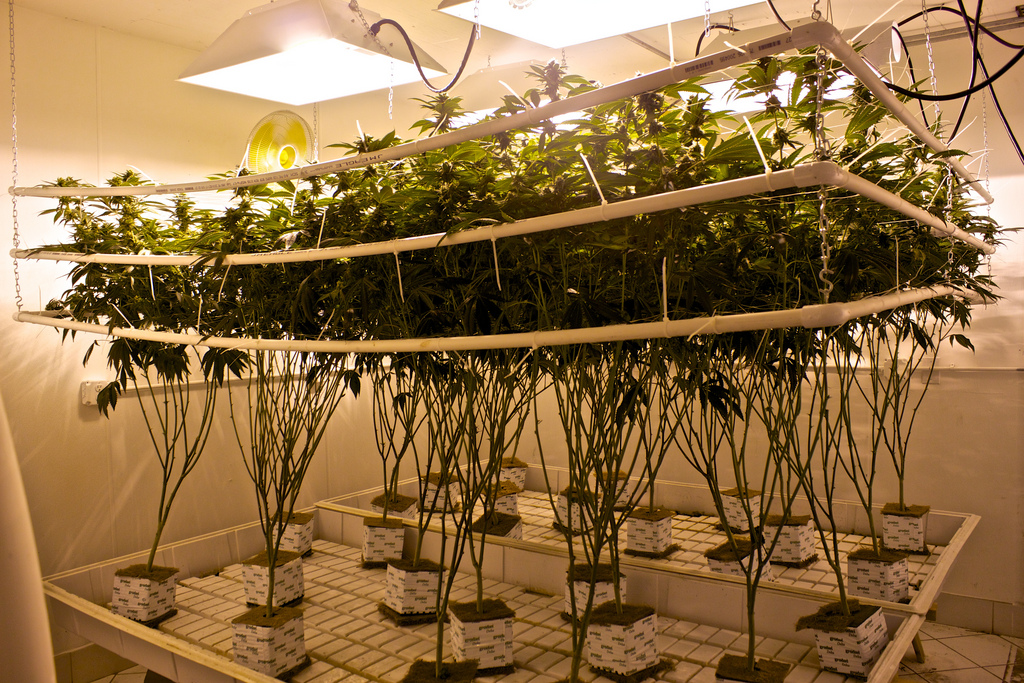
Photo credit: www.handselectedseed.com
Here’s how to set up a Screen of Green system:
Place your net about 20 cm above your pots. You want it to be as close to your light as possible while still leaving some room for the buds to form.
Give each plant about 10×10 square of screen so that you can fit the branches in them and they can rest on the net.
Guide the plant through the screen and only allow the tops of the branches to hover above the net. You can use plant ties or string to secure branches if necessary, but you might find that the screen itself will hold them in place.
Continue doing this until ⅔ of the screen are covered before sending your plants into flowering.
Sativas are usually taller so you can expect up to 50% or 60% coverage before flowering, while an indica might cover even up to 80% of the net.
As plants continue to grow, they will fill up the remaining space and once the plants are moved into flowering, keep a lookout for any new branches forming under the net.
Those won’t get much light and might not grow any significant bud.
Related Posts


Alex Trpkovich
Experienced cannabis content creator, writing about the latest cannabis news, stock market updates and cannabis culture.
Professor FunStuff December 21, 2018 at 4:14 am
An area of growing needing to be talked about...advanced technique. The part about LST needing to be done on a topped plant is not accurate. It is done in conjunction with all techniques or on an untopped plant as LST is so versitile. The photo detailing a Scrog-Screen of Green, is not accurate. The picture in the article is a combo sea of green/screen of green type thing. A real Scrog in terms of the article as the Canadian stoner growing some weed would never have that many plants. Plants clearly not weaved as a true Scrog. I comment to further the cause and enlighten the growpop. Cheers.
Alex December 21, 2018 at 10:09 am
We can't always get the best photos so sometimes we use what we can get our hands on due to copyright laws, and at that time we weren't able to just shoot our own... But yeah it's something we plan on updating soon!