
This is a COMPLETE guide to drying and curing cannabis.
So, if you’re looking to properly dry your weed and then cure it like a champ, you’ll love this follow-along tutorial.
Drying weed the right way makes it less harsh on the lungs—curing amps up the potency and makes it tastier.
By drying and curing our weed we are essentially doing two things:
- Reducing moisture inside the buds, breaking down chlorophyll and thus making the buds easier to smoke and store.
- Increasing their potency, optimizing cannabinoid profile and most importantly, improving the taste (and the smell).
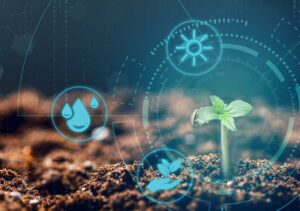
As you already know, producing top quality homegrown cannabis requires some work.
There are lots of variables that go into creating a bountiful plant, not to mention that it takes months just to go from a seed to a fully flowering plant.
That’s why many expert growers use the drying & curing techniques outlined below to fine tune their end product.
3 drying and curing tips that you HAVE to follow
And here is the big secret to drying cannabis the right way:
- Take your time to ensure the highest possible potency. Do NOT rush this process.
- Make producing the best possible flower your #1 priority.
- Do this by following a tried and tested system—I’m going to share that with you right now.
Number one mistake people make when drying weed
I’ve seen many people make the same mistake with their homegrown cannabis—they dry it too quickly.
And we can all understand that.
You’ve spent months nurturing your herb and now that you’ve harvested it you simply can’t wait to sample the fruits of your labor.
But the simple truth is this:
Drying and curing should be a slow and tedious process, because that is the only approach that will give you the best possible potency, smell and taste.
If you acknowledge this right away you’re going to have an amazing product in the end.
Another point to consider is the optimal time frame you’re going to dedicate to this.
In my experience, the entire drying and curing process should last for 2 months, more or less depending on the strain and the potency you’re going after.
Of course, you can cure your buds for 6 months if you want to, but I think it’s better to keep things optimal.
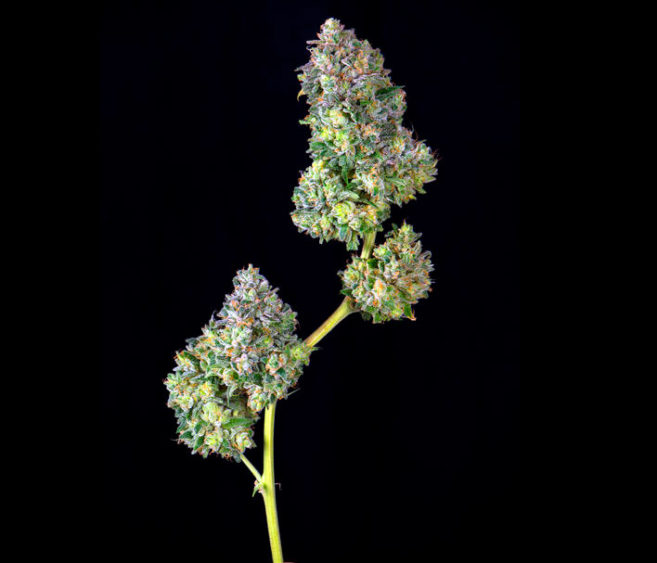
Step #1: Once you harvest the buds with their stems do a light trim
Take off the fan leaves and trim the bigger sugar leaves. You can do this with a pair of spring-loaded trimming scissors that you can pick up for $10 bucks. In the end, your buds should look like this:
Step #2: Hang the buds upside down in a dark room for 3-7 days
5 days is usually enough. Feel free to use either a regular coat hanger or just a simple clothesline. You can fit those in your bathroom, shed or any other room that you want to use for drying.
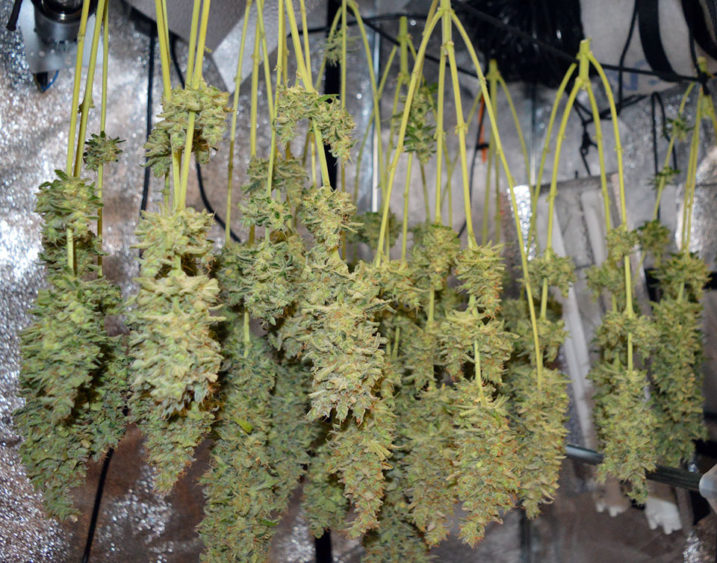
Image source: Cannabis Pictures
Follow these weed drying tips:
- The ideal drying room conditions are 75° Fahrenheit (23° Celsius) with 50% humidity (use a Digital Humidistat to monitor your humidity levels)
- Make sure to space out the branches so the air can flow between the buds
- Your weed is dry enough to cure when the buds feel crispy to the touch, but they still spring back a little bit when pressed (be gentle when testing)
- It’s better to over-dry the buds then under-dry them, as they can become moldy (which ruins the taste and even makes them toxic)
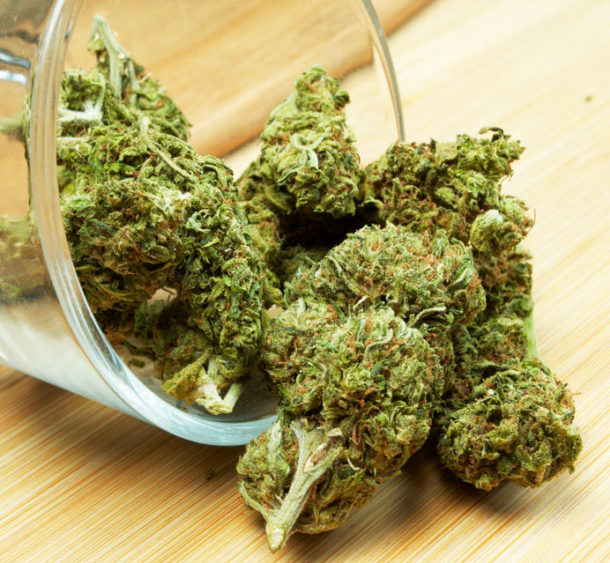
Step #3: Do a detailed trim
Take the buds off from the stems (which are definitely not used for consumption), trim the remaining sugar leaves and leave only flowers.
Step #4: Place the buds in a mason (air-tight) jar
Avoid zip-lock, plastic bags and other alternative methods of curing that you might have read about online. Wide mouth mason jars work the best. Make sure to leave some room for the buds to breathe.
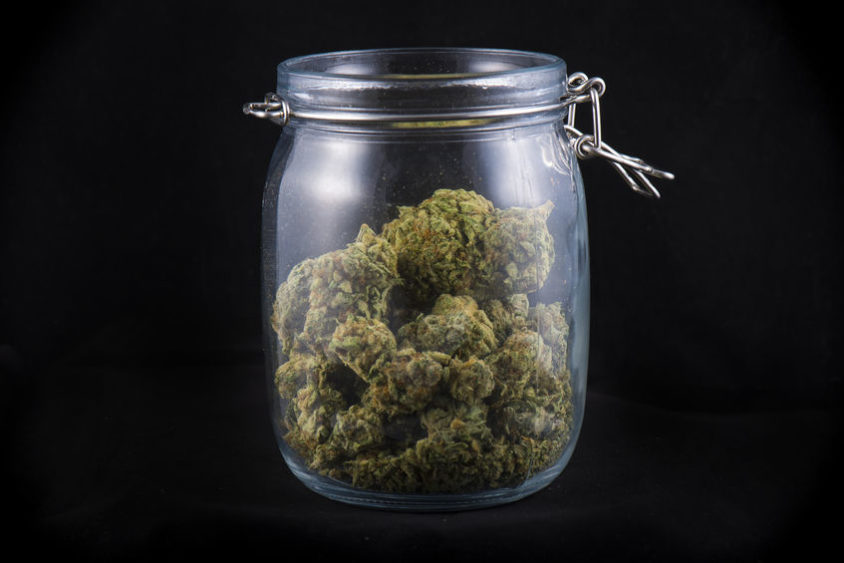
Important tips for curing weed:
- Ideal conditions for curing are 70° Fahrenheit (20° Celsius) with around 60% humidity (you can put humidity packs inside the jars)
- Cure your buds for at least 4 weeks to get the optimal potency and taste
- For perfect buds, cure for 6-8 weeks
- Open up the jars every day for 30-45 minutes to get the fresh air in (this process is also known as burping)
- Keep the jars out of direct light, as it can breakdown cannabinoids
Once you’re done with drying and curing, your bud will go from 80% moisture to around 10-15% if you did everything right.
And that’s it! Weapons free from here but be sure to remember this:
Both oxygen and light degrade THC so try to store your weed in a dark spot and within an airtight container. Room temperature (18-23°) should do just fine for most short to mid-term time spans.
Of course, like everything else related to producing top quality weed, it all comes down to expertise. You’ll need to harvest, dry and cure your weed a couple of times before you learn all the little ins and outs.
By the time you go over this process a couple of times, you’ll develop a feel for your buds and know exactly when to harvest, dry and cure for maximum potency and taste.
More on weed growing
Related Posts


Luka Petkovic
Editor in chief at Greencamp. Researching topics related to the biochemistry of cannabinoids and interested in the latest industry happenings.
Gwen September 12, 2018 at 10:16 am
How do u know when its time too harvest and or start the cut and dry process?
James Elder January 2, 2019 at 11:06 am
When the trichomes are milky.
Izzz September 26, 2019 at 3:52 pm
If using a dry rack would I hang the plant upside down for a few days then put in dry rack after trimming until dry then cure in Mason jars?
Juicey June 22, 2021 at 9:56 pm
When the trichomes are mostly amber-colored is a better indicator.
Mary November 15, 2021 at 4:30 am
Amber trichomes are degraded. As in CBN with no thc
rentre February 8, 2019 at 8:11 am
i will try it with this one https://www.gyo.green/dna-genetics-holy-grail-kush-dna-hgk-f.html
Pat May 16, 2019 at 6:23 pm
How do you dry leaves for smoking? or is this not an option?
Diddly November 11, 2020 at 9:07 pm
You don't smoke the leaves.
Patrick Galiardi September 5, 2021 at 8:17 pm
leaves are the plants solar panels to get energy from the light, thats pretty much it. Cant get a plants pollen from its stem or leaves, thats why we have flowers.
tibbies September 25, 2021 at 11:55 pm
I get rid of all the big fan leaves. But, all the others that I remove from the tree, I use for my 'stash hash' and that makes use of all the weed. You would need to read up on how to make hash by using dry ice. It's amazing, and you can smoke it immediately (dry the leaves first - just like the weed).
John Standish May 19, 2019 at 10:02 am
Very informative! Straightforward instructions. Thanks John
Omar Carrillo June 26, 2019 at 10:11 pm
Better and better. Thanks.
Hillbilly weed man August 29, 2019 at 11:05 pm
I've grown for three years now and this is the first time I've read up on how to grow and cure looks like I've done it all right but does anyone leave the roots on when they dry because I do seems to make it more skunky
tibbies September 26, 2021 at 12:06 am
I have not left any roots on. I cut each limb individually (I grow a small qty for self that's all) and make sure it's ready before going to each limb. My crop was attacked this time by those monster crickets and caterpillars. So I had a problem with seeds growing - my plant turned to morphed into a male - on a female plant. screwed up. But my problem mostly is the smell - my always ends up with strong chlorophyll smell instead of skunky like the mother weed. But, I get real buzzed on it! my grow this year was disturbed, like I said, and am wondering if you had any of those issues? I have followed all the steps for a great cure - leaving mine for 5-6 months...patience. sweet! I was using microscope to view my little beauties and I will be "scream here" darn if I didn't see a live caterpillar crawling thru the bud, and I threw the weed up in the air, it landed on my floor near the dog, so it could have fallen off but I looked afterwards and didn't see it on floor. I couldn't bring myself to looking thru microscope again! LOL!!@@ And, then finally I took affected limb and 'isolated' it in a box, and the next day I braved to take it out and examine. Then I did it again, and saw it crawling on me, and "scream here" again, and once again it disappeared...and now I guess it's dead cause I squashed everything on that limb to a pulp! Wonder how this one will taste and smell????
OG D.K. December 3, 2019 at 6:41 pm
My cure game completely changed after I started using those little humidity packs (https://amzn.to/2RjFkFt) in each jar. Awesome taste even after months of storage and not a single opening of the jar.
Yendor November 4, 2022 at 8:38 pm
So I purchased the humid packs and I am wondering if I still need to open jars and let it breathe to prevent mold etc.? Or will the humidity packs absorb the moisture? Tia
Rishi jain April 26, 2020 at 2:55 pm
Hey bro how are you... How can we get this in INDIA bro... Do you have any sites where we can order for INDIA..
Rob June 9, 2020 at 10:08 pm
What are you looking for
Erin Fitzgibbons August 28, 2020 at 7:27 pm
I will try this and let know how it turned out gidget
Nayan September 27, 2020 at 5:51 am
Waw to curries weed
D April 2, 2022 at 3:54 am
Lol you’re a legend 👳🏽♀️
Don Philbrick May 2, 2021 at 10:54 pm
Very cool great info. I’m new to this and it’s my first grow. Started four seeds all four germinated. They are 3 fem and 1 auto. I did a lot of things that worked well an other things I won’t do next grow. But now I think my auto flower is ready to harvest. How long should I flush with plain water?
Bob Sweet October 5, 2021 at 5:35 pm
If I'm drying in my basement, is there any concern for black mold spores affecting the buds? I'm in an old house with a damp basement that I have fans in circulating the air. The humidity is around 22 so not ideal but I'm afraid of ruining the flowers if they pick up spores
Little pup October 9, 2022 at 3:24 pm
Get a dehumidifier
Cyndi Wideman November 3, 2021 at 9:57 pm
Is it the same for growing to make edibles??? Does it still need to dry and cure???