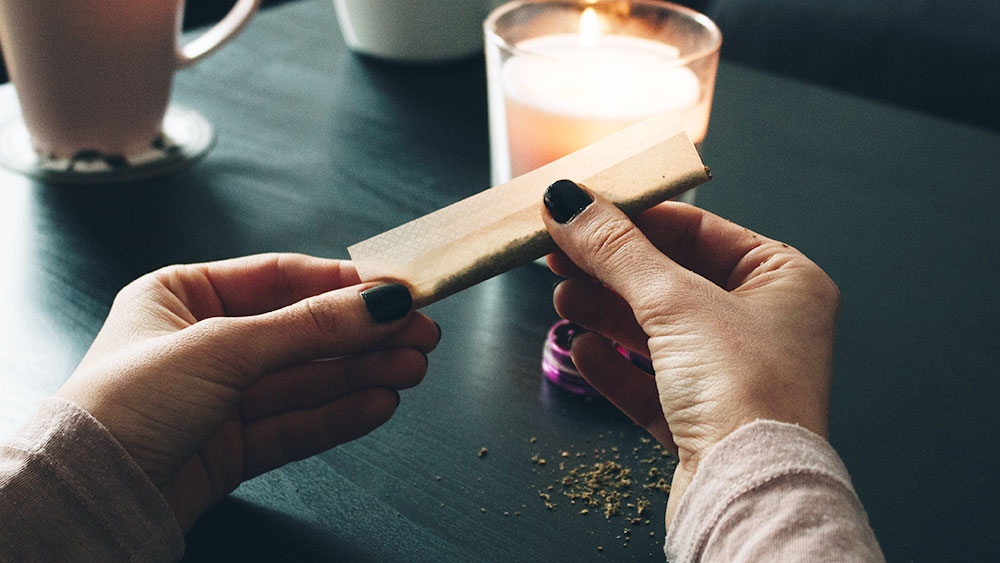
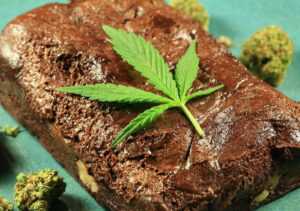
The fine art of rolling an evenly-burning joint requires both practice and patience.
Once you master the basics of rolling regular joints, you can move on and elevate your technique to new heights.
Inside-out joints, also known as backrolls or Dutch-style joints, use a smaller amount of paper than regular joints, which significantly improves the flavor and makes your joints burn more slowly.
This is something I learned from my European friends who mostly smoke spliffs.
I’m not gonna lie to you, the technique of rolling an inside-out joint is pretty difficult, but the majority of steps are exactly the same as with regular joints.
Backrolling is not a new concept, and it actually has a long history that began with hand-rolling tobacco cigarettes, as a way to avoid excessive overlapping of the smoking paper. Less paper equals more flavor.
The basic idea of rolling an inside-out joint is to use the least amount of paper by completing only one rotation around the ground weed.
The rest of the paper is either torn or burnt away, and backrolls “canoe” much less than regular joints.
It took me a while to perfect my technique, but once I got accustomed to all the steps, rolling inside-out joints became a simple manual operation.
I assure you, backrolls are really worth the hustle, because every toke you take is supremely smooth.
Preparing your essentials
To roll a backroll you’ll need the same things as with regular joints.
You need the following:
- One high-quality rolling paper (preferably rice paper)
- One paper filter / crutch
- Weed
- Lighter
- Grinder
Begin by grinding your cannabis, but avoid excessive chopping because weed ground too finely can block the airflow.
If you want to achieve the slowest burning-rate possible, try using rice rolling papers because they’re very thin, and as a result burn slowly.
However, that convenient thinness of rice papers also makes them somewhat tricky to work with, so perhaps it’s best to practice with regular papers, and then work your way up to rice ones.
Flipping the paper
This is the most important step of rolling these joints, since you will be sealing them “upside down”.
First, take a rolling paper and re-fold it in the middle, so when you put the weed in, the glue stripe faces the inside of the joint and down (closer to you), and not upwards (away from you).
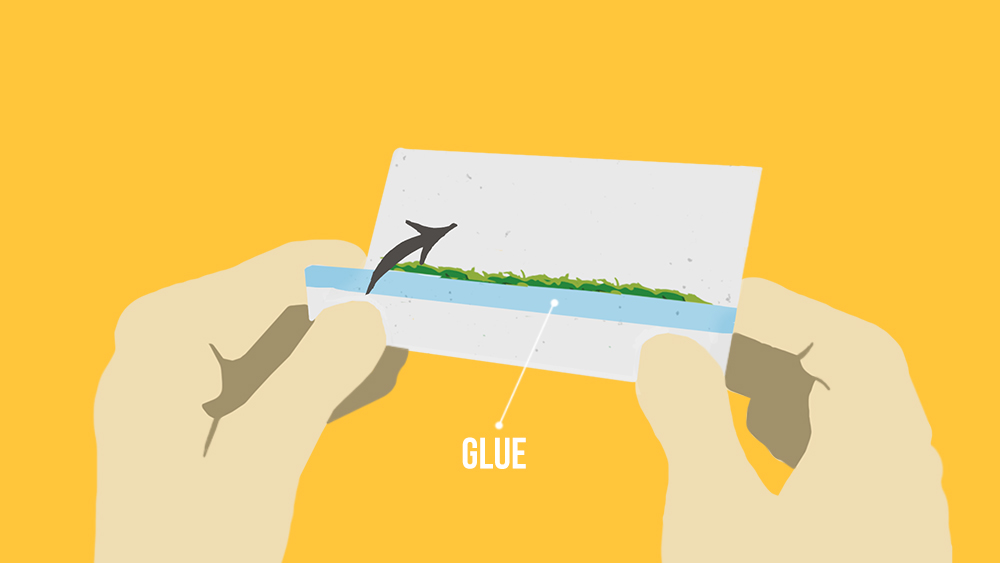
Precisely position the rolling paper and add a crutch in one of the corners, depending on whether you’re left or right handed.
Quick Tip: Use a longer crutch that will be easier to hold!
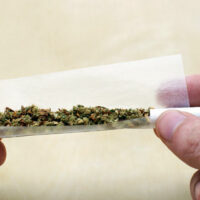
Packing the weed
Once you’ve positioned the paper correctly, hold the crutch and arrange the weed on the rolling paper with your other hand.
Shape the weed like you usually do: Roll your fingers back and forth until a cylindrical shape is formed.
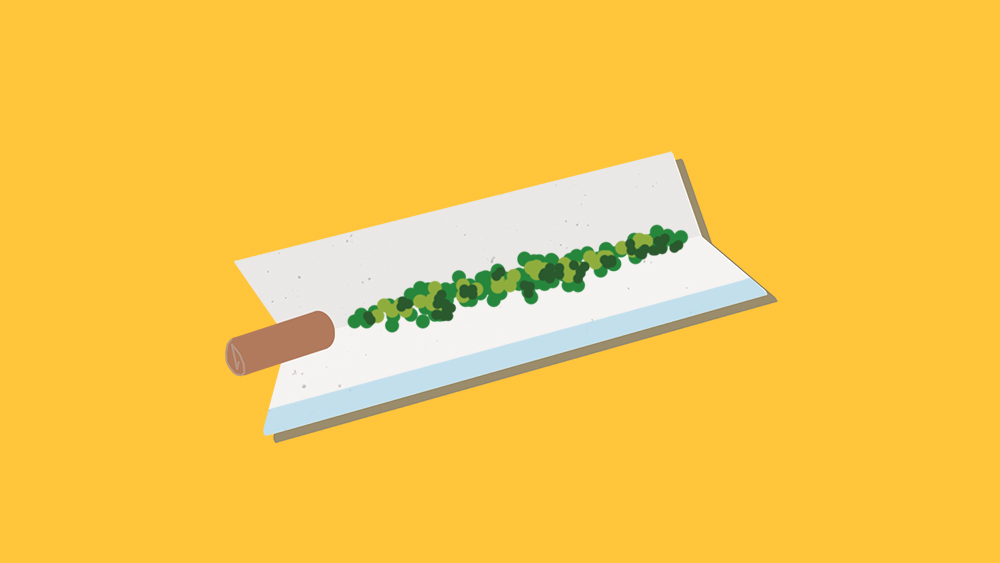
Tucking the glue side
Here comes the tricky part: tucking the glue stripe. That’s why it’s so important to shape the weed tightly, in order to eliminate as much air as humanly possible.
If the rolling paper is giving you trouble by wrinkling, pull the tip of the paper with your fingers in the opposite direction from the crutch.
Try to additionally increase the pressure by tucking the glue side under the part of the paper that overlaps. You can use your lips to pull the rest of the paper.
Continue to roll the joint until the overlap becomes visible.
Seal the deal
There is no need to lick the glue stripe directly, because it will only mess up your joint.
Instead, find the place where the paper overlap begins, that’s where the glue stripe is located.
Lick the stripe through that excess layer of paper, and at this point the overlap and the glue stripe will become visible through the rolling paper.
Once you go through this step, there’s no going back. It’s impossible to do more tucking once you’ve sealed your joint.
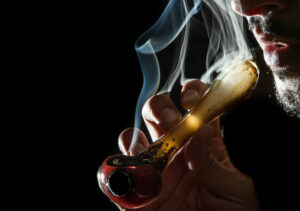
Burn the excess paper
This is the final step before you get to enjoy your fancy-pants joint.
There are two ways of getting rid of the excess paper: either by delicately tearing it, or by purging it with fire.
Tearing the surplus paper is quite easy. Lick the place where you sealed the joint one more time, press the glue stripe with your fingers and gently tear the flapping paper.
In my opinion, burning the leftover paper is far more fun, and here’s how to do it correctly.
Re-lick the glue side once more to create a barrier for the fire, because you definitely don’t want to burn the rest of the joint.
Use a lighter and light up the part of excess paper that’s closest to the crutch, and the rest of the leftover will quickly follow.
To wrap it up…
Now you have a slow-burning joint that will provide you with a unique “paper free” experience.
However, I have to point out that fashioning backrolls is no simple task, as it requires real canna-craftsmanship.
But don’t take this the wrong way, I’m not trying to discourage you! Just remember your first joints, and how much your technique has advanced since then.
The same thing applies to backrolls. Practice and composure are key!
If you don’t succeed the first time, don’t give up and try again.
Now that you know how to roll an inside out joint, check out:
Related Posts


Helena Miles
Experienced journalist with a decade-long experience of researching cannabis. She has been featured in many prominent outlets, such as The Growth Op, National Post and The Province.
Wojciech September 11, 2019 at 7:40 pm
Thank you. It is not difficult after all.
Yep. January 11, 2021 at 1:23 am
Yep.
leander April 1, 2021 at 3:32 am
another advantage of burning off the excess paper is that it allows you to very theatrically light the joint at the same time, if you start at the base and have some dry paper at the tip left
Sophia Lane August 30, 2021 at 10:54 pm
Thanks for the Help!!!
Craig June 2, 2022 at 10:11 pm
Good article but I take issue with point 6. The problem with ripping the excess paper off, particularly if the paper is still wet, is that you can very easily end up ripping somewhere you don't want to (e.g., part of the regular joint). Similarly, the problem with burning the excess paper end from what you call the crutch end is that fire rises and so your joint can easily catch ablaze. Not saying these things will happen every time you do it, but they have happened to me and this is how I was taught to overcome it. You hold the joint with the crutch end facing down and you light the excess paper at the top. As noted, fire goes up pretty quickly - but it will still go down too - just much more slowly. There is much less of a flame and this allows you to control it much more easily as the fire travels down the joint towards the roach instead of up and away from the roach as your article stipulates.